Introduction
A video cover serves as a professional introduction to your screencasts in Clevera. It provides viewers with immediate context through titles and branding before the actual demonstration begins, making your content more engaging and easier to identify.Opening Video Cover Settings
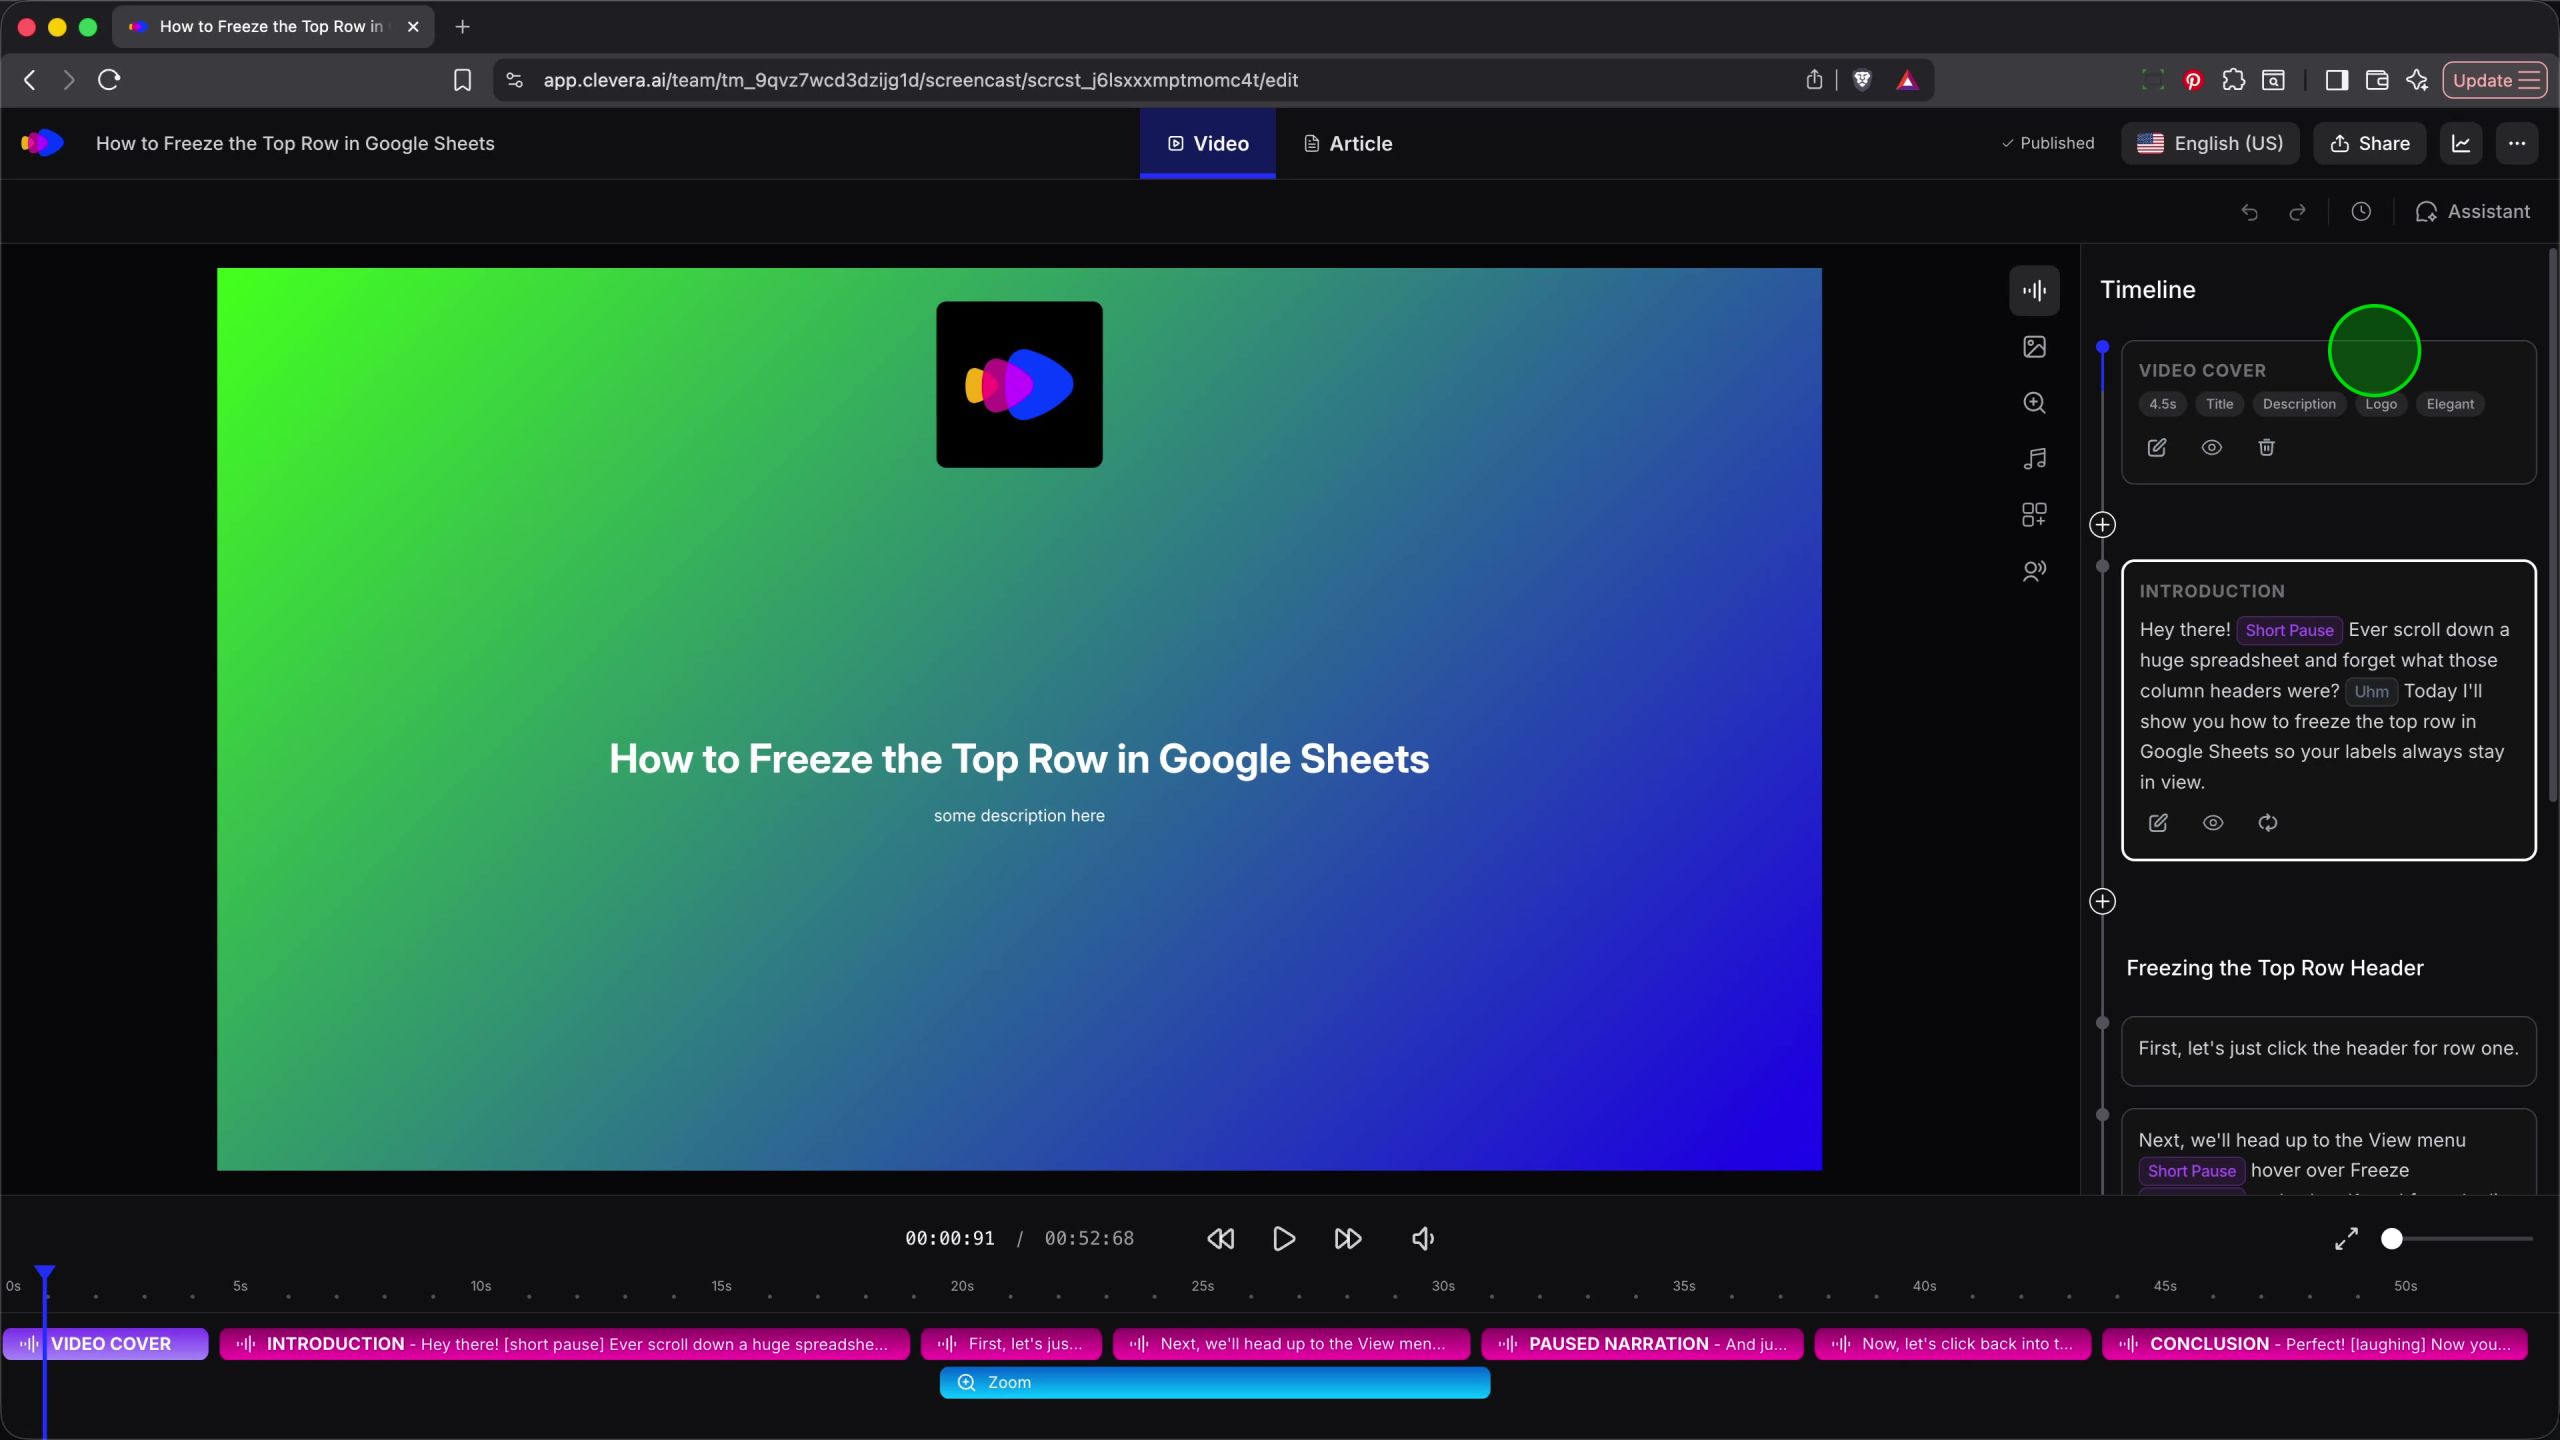
To begin customizing your video intro, you first need to access the Video Cover creation menu from the Timeline area of the Clevera editor.- In the Timeline sidebar on the right, locate the + (Add) button situated above your first scene block.
- Click the + button to open a small dropdown menu.
- Select Video Cover from the available options. This will transition the editor to the Cover Settings view.

ℹ️ Info: Adding a Video Cover automatically inserts it at the very beginning of your project’s timeline.

Customizing the Cover Background
Once in the cover settings, your first step is to establish a background that matches your brand or the theme of your video. You can choose from three background types: Color (a solid hue), Gradient (a multi-tonal blend), or Image (a custom upload or stock photo).Adding a Title
The title is typically the name of your tutorial or the main topic. Use the tools in the sidebar to style it:- Font Style: Select a typeface (like Inter) from the dropdown.
- Size and Weight: Choose Bold and adjust the font size (e.g., 48) to make it stand out.
- Positioning: Use the 3x3 grid in the Position area to place your text at the center, top-left, or bottom-right of the screen.
Enabling the Description
If you need more space for context, toggle the Description switch to ON. This adds a smaller text block below the main title where you can type your summary, such assome description here.

Branding with Logos and Animations
Make your video cover uniquely yours by adding your brand’s Logo and selecting smooth Animations for how the cover appears and disappears.Adding your Logo
Including a logo is key for professional content. Here’s how to do it:
Applying Entrance and Exit Animations
Animations make the transition into your content feel polished. You can set individual Animations for both the start and end of the cover’s duration:- Enter Animation: How the cover appears (e.g., Elegant).
- Exit Animation: How it fades out to reveal the first scene (e.g., Mask Outward).

Setting Intro Music and Saving
The final step in creating your video cover is selecting the perfect audio accompaniment and saving your changes to the project.Selecting Intro Music
Intro music plays exclusively over your cover page and smoothly fades out as your first scene begins. To choose a track:- Click the Select intro music field.
- Browse the list of available cinematic and ambient tracks (e.g., Engine Slow Spinning Whoosh). Press the play icon to preview a song.
- Once selected, adjust the Duration slider below the music field to define how long the intro should last before revealing your screencast.

Saving your Cover
After you’ve fine-tuned your background, text, logo, and audio, click the Save Cover button at the top right of the settings panel. Your project will now update, and the new VIDEO COVER block will be visible at the start of your project’s timeline.