Open Clevera app
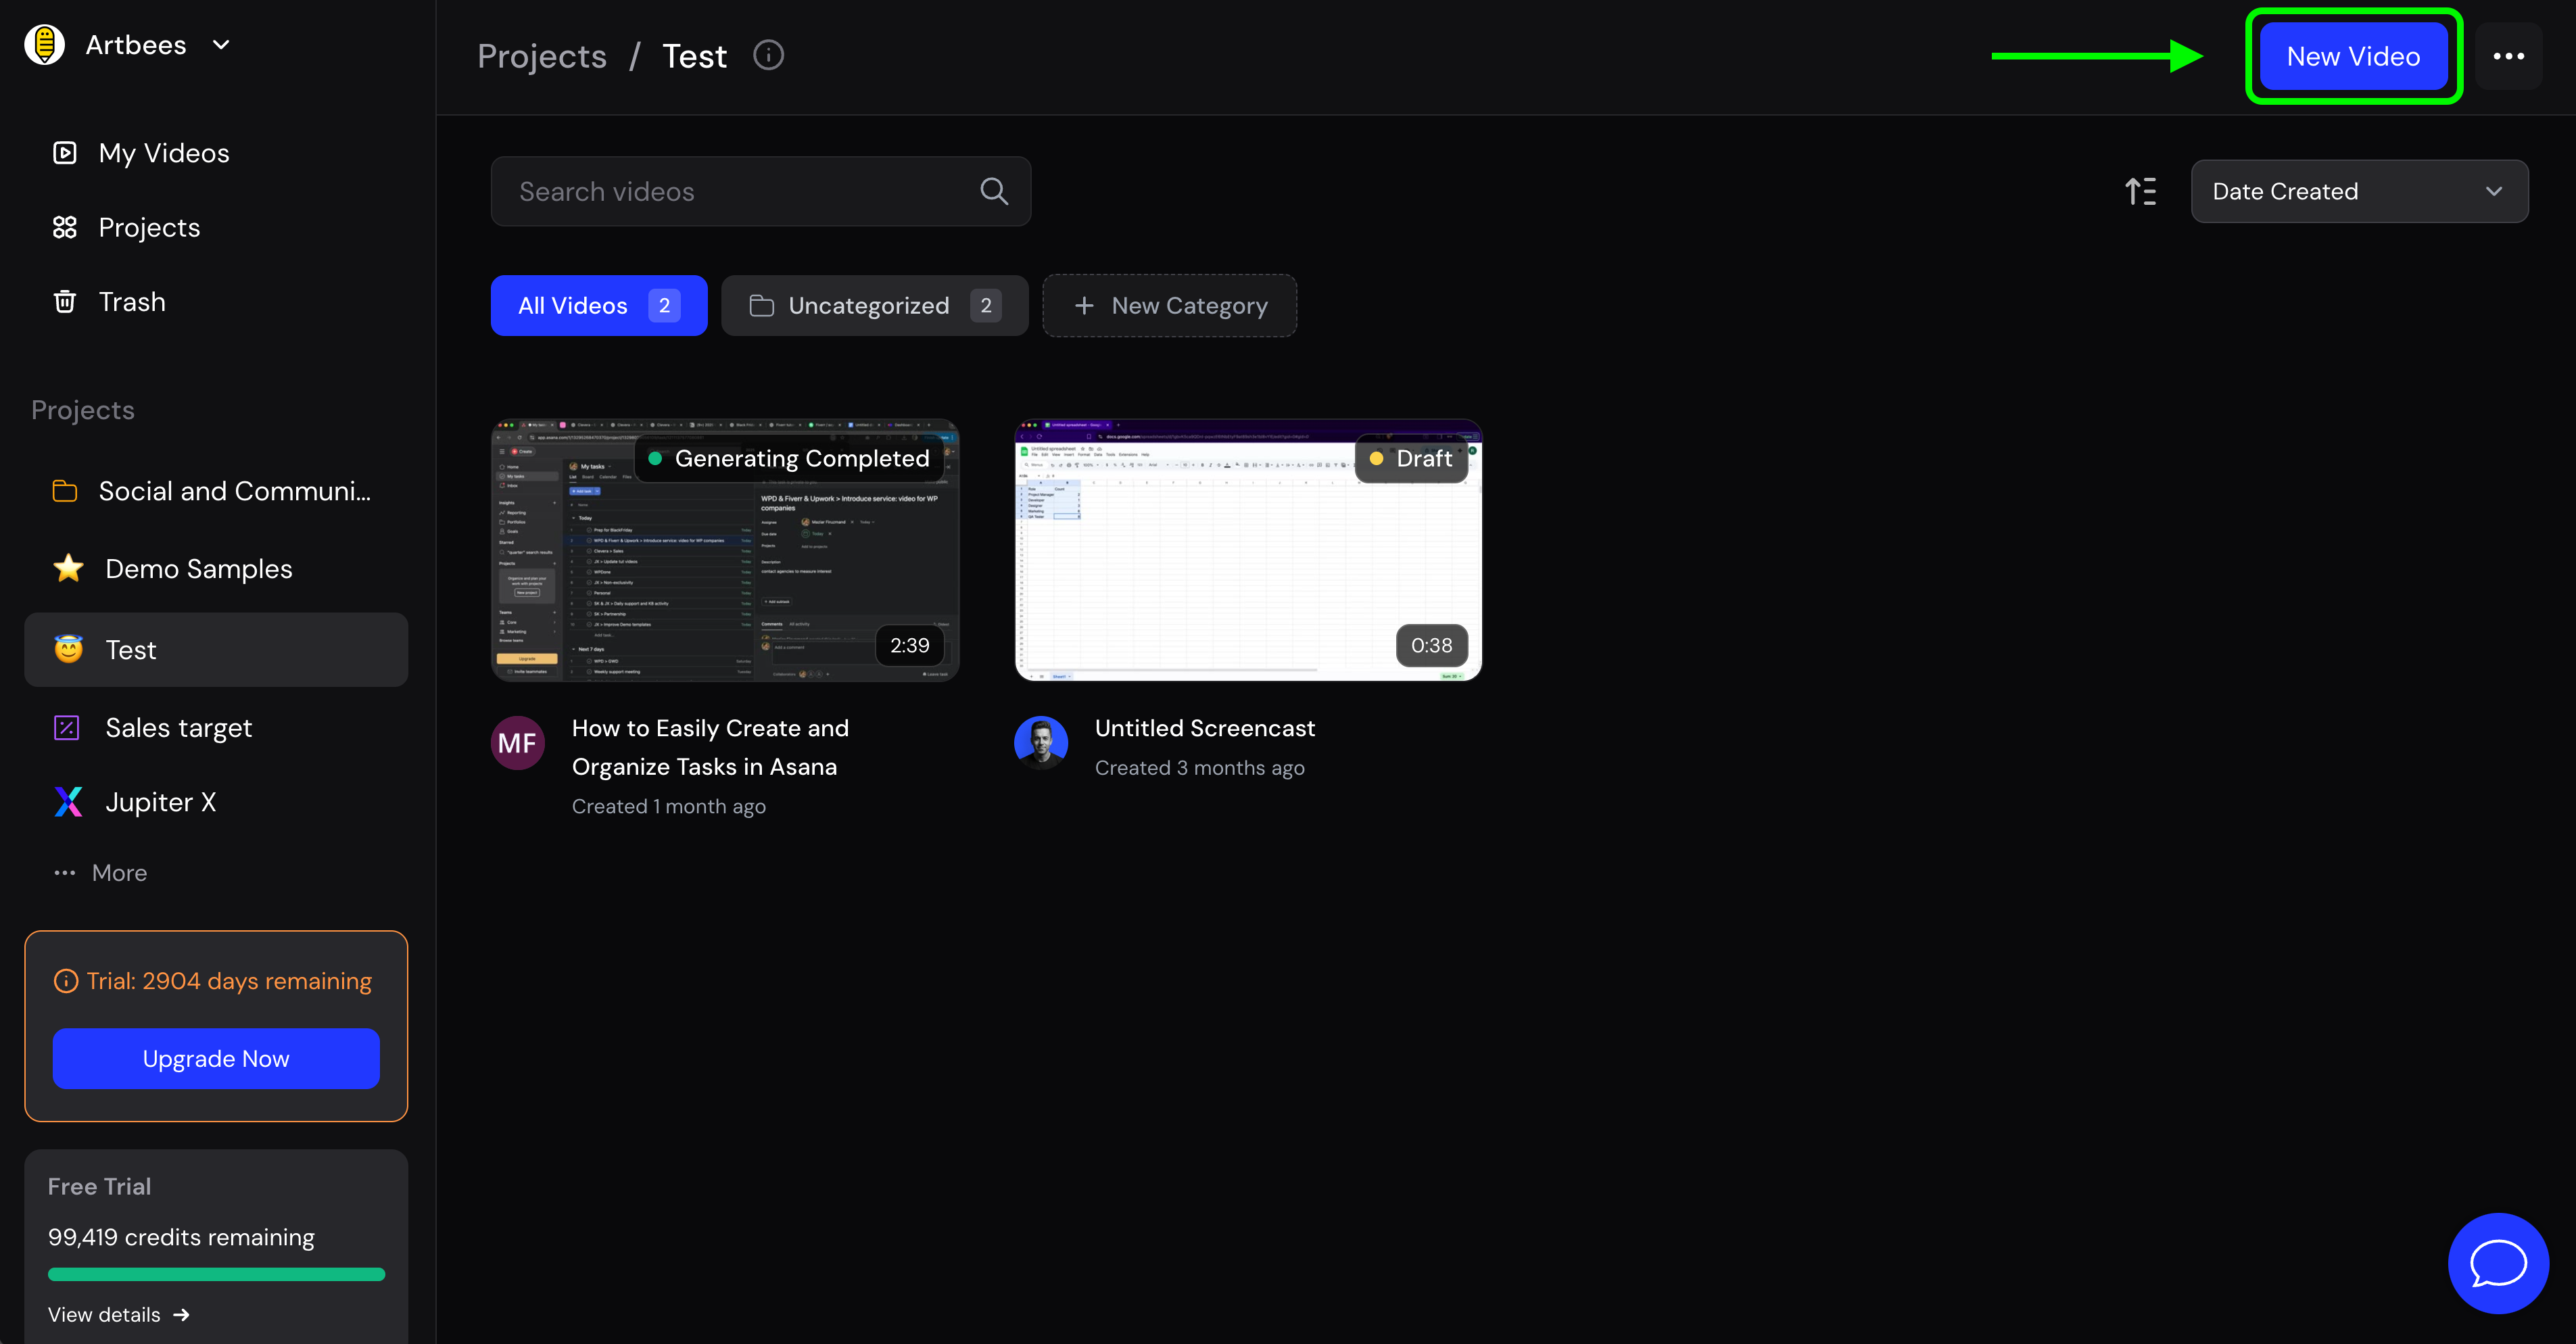
Method 1: from the web app- Go to app.clevera.ai and click New Video.
- Go to “My Videos” page and click on the “New Video” button on the top right corner
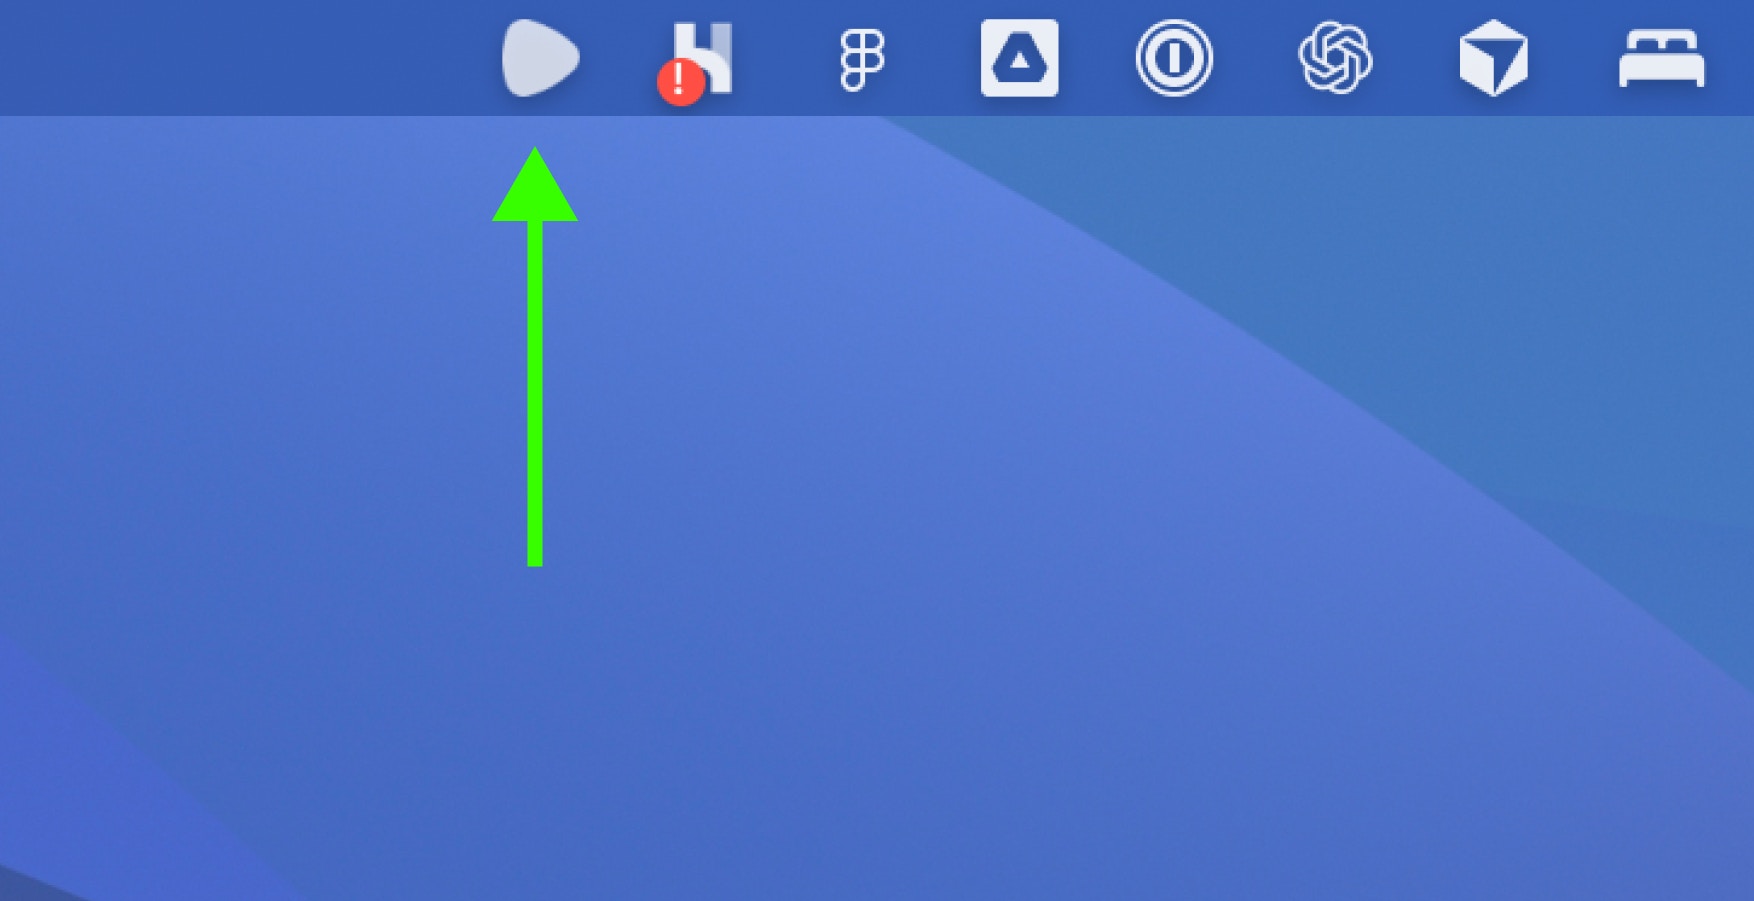
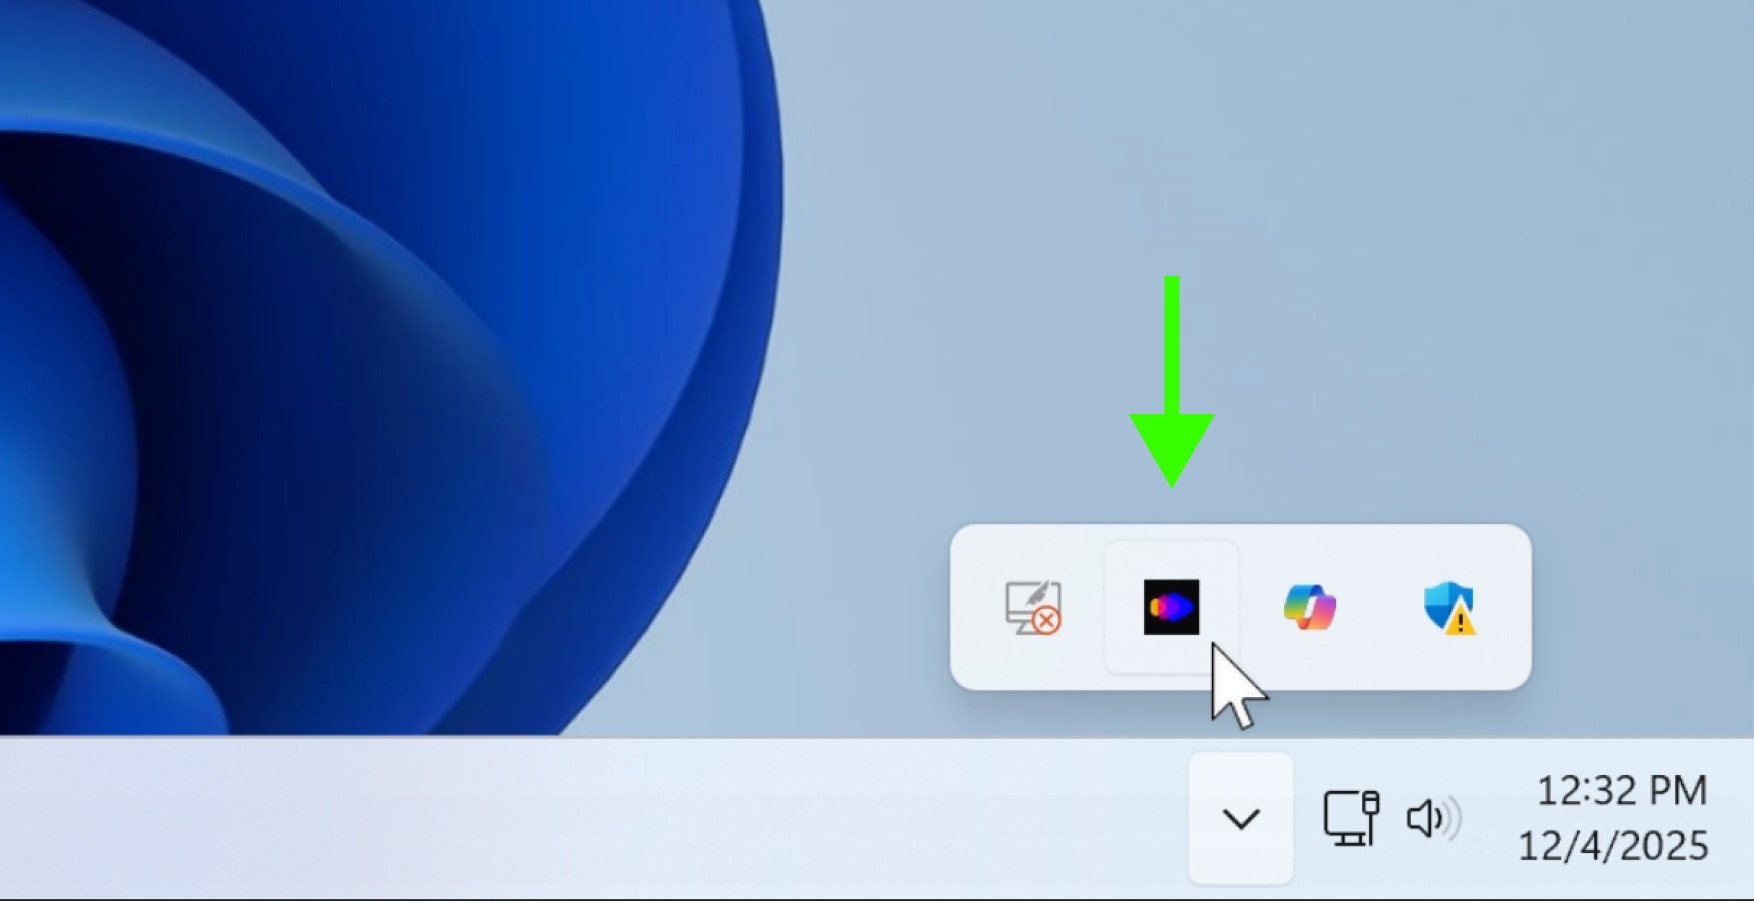
- Click the Clevera icon in your Mac menu bar or Windows system tray.
- Choose New Recording to start a session.
Mac
Windows
Choose what to record
Once you open the Clevera recorder app, you’ll have the option to pick your capture target:- Entire Screen
Records everything on your display. Best for multi-window workflows or when switching apps. - Single Application
Captures only one app/window. For example, if you’re recording a something on your browser, you can capture only the browser window.

Microphone On/Off
Microphone On/Off
Turn it on if you want to speak while recording (for extra context). Turn it off if you don’t want to provide extra context. Clevera can still write and narrate the whole thing.
Countdown Timer
Countdown Timer
Set how many seconds to wait before recording starts. From the macOS app, go to Settings -> Recording -> Countdown Timer. Your preview updates automatically as you edit files.
Tips for while you’re recording
When you’re recording, keep these tips in mind for better results:- Move the mouse smoothly, avoid fast jumpy moves.
- Pause briefly after each action (e.g. click a button). That micro-pause gives Clevera processing time and helps Clevera detect action boundaries.
- If you talk while recording:
- Stop moving the mouse while you’re speaking, then continue your actions.
- Your speech is not used in the final video, it’s just context to enrich the script.
- Synthetic narration will be generated later in your selected voice.
- Don’t circle the mouse to highlight things. You can add highlights or zooms cleanly in the editor later.
- Keep it short. Aim for ≤ 5 minutes per recording. For big topics, split them into smaller videos.
- Minor mistake? Keep rolling. You can edit out some mistakes later in the editor.
Finish the recording
Click Complete Recording from the macOS or Windows app.
Generation settings
You’ll land on a setup page where you can tell Clevera how to build your video.
Editing voiceovers (the fast fun part)
When your video is ready, it will open in the editor. From the right sidebar find all the voiceovers by event.
Remove an event
To remove a part of video including any voiceover associated with it, select the event from the timeline panel on the right to open its options. Click the event to reveal the action buttons, then choose setting icon on top of the item. From there disable Timeline visibility if enabled. The event and its voiceover will be removed from timeline.
Edit a voiceover
To edit a voiceover line, select it in the right sidebar to reveal its actions. You can edit the text manually by clicking the **edit icon **and typing your changes, or regenerate it with AI to rewrite the line automatically while keeping the timing and context intact.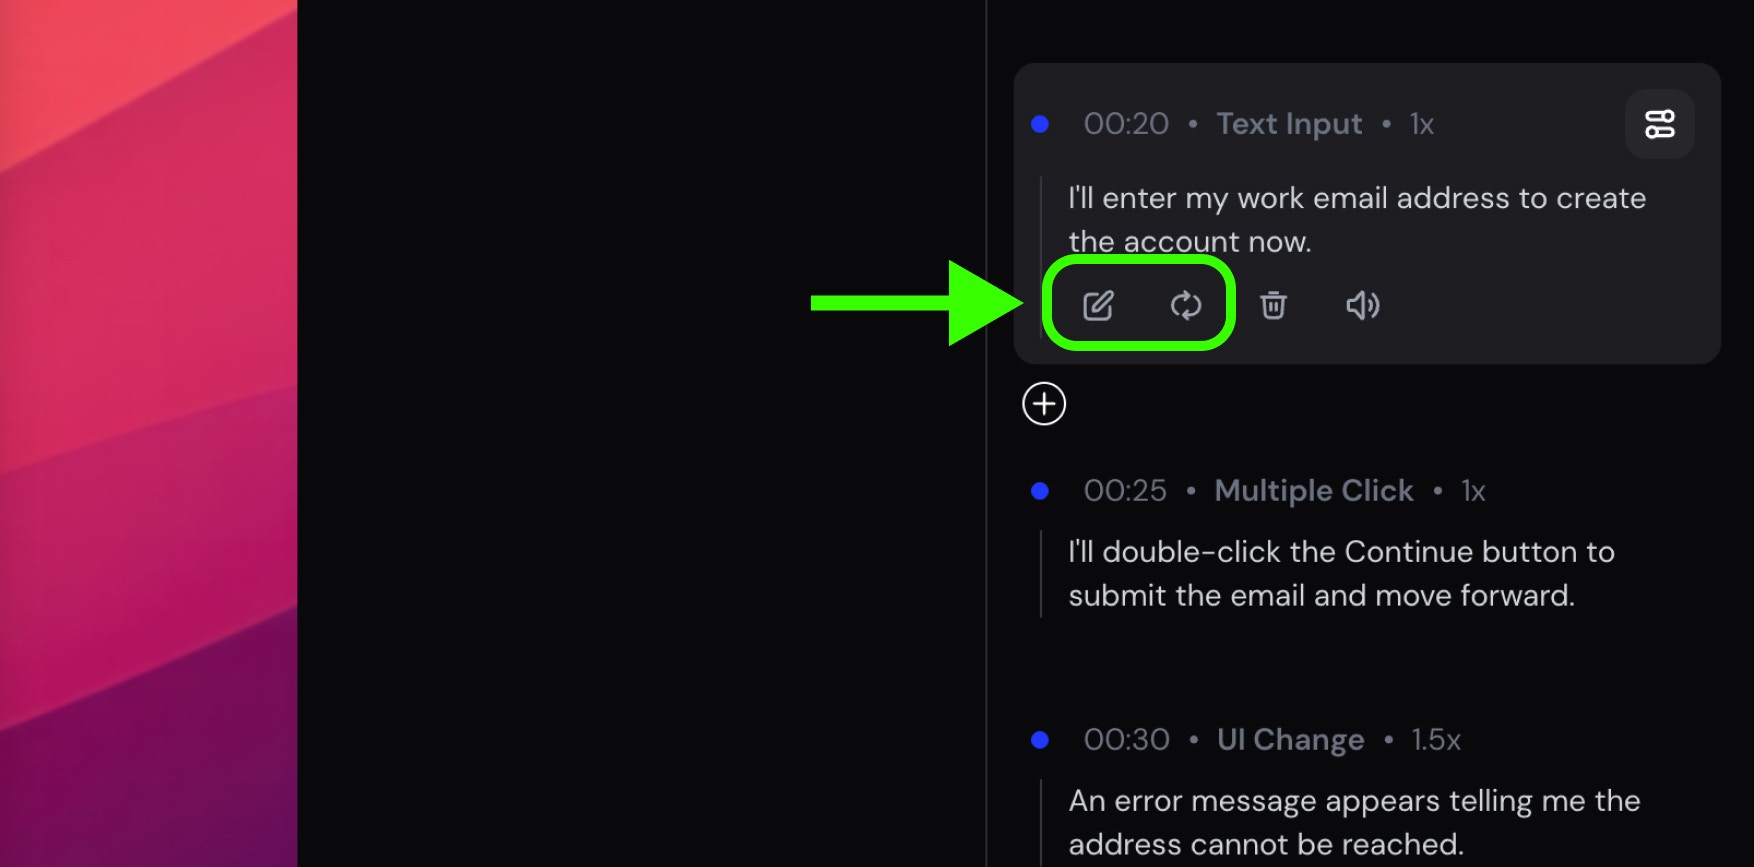
Mute a voiceover
To mute a voiceover, select the voiceover line in the timeline and toggle mute icon. The animation and on screen actions will still play, but no narration will be heard during that segment.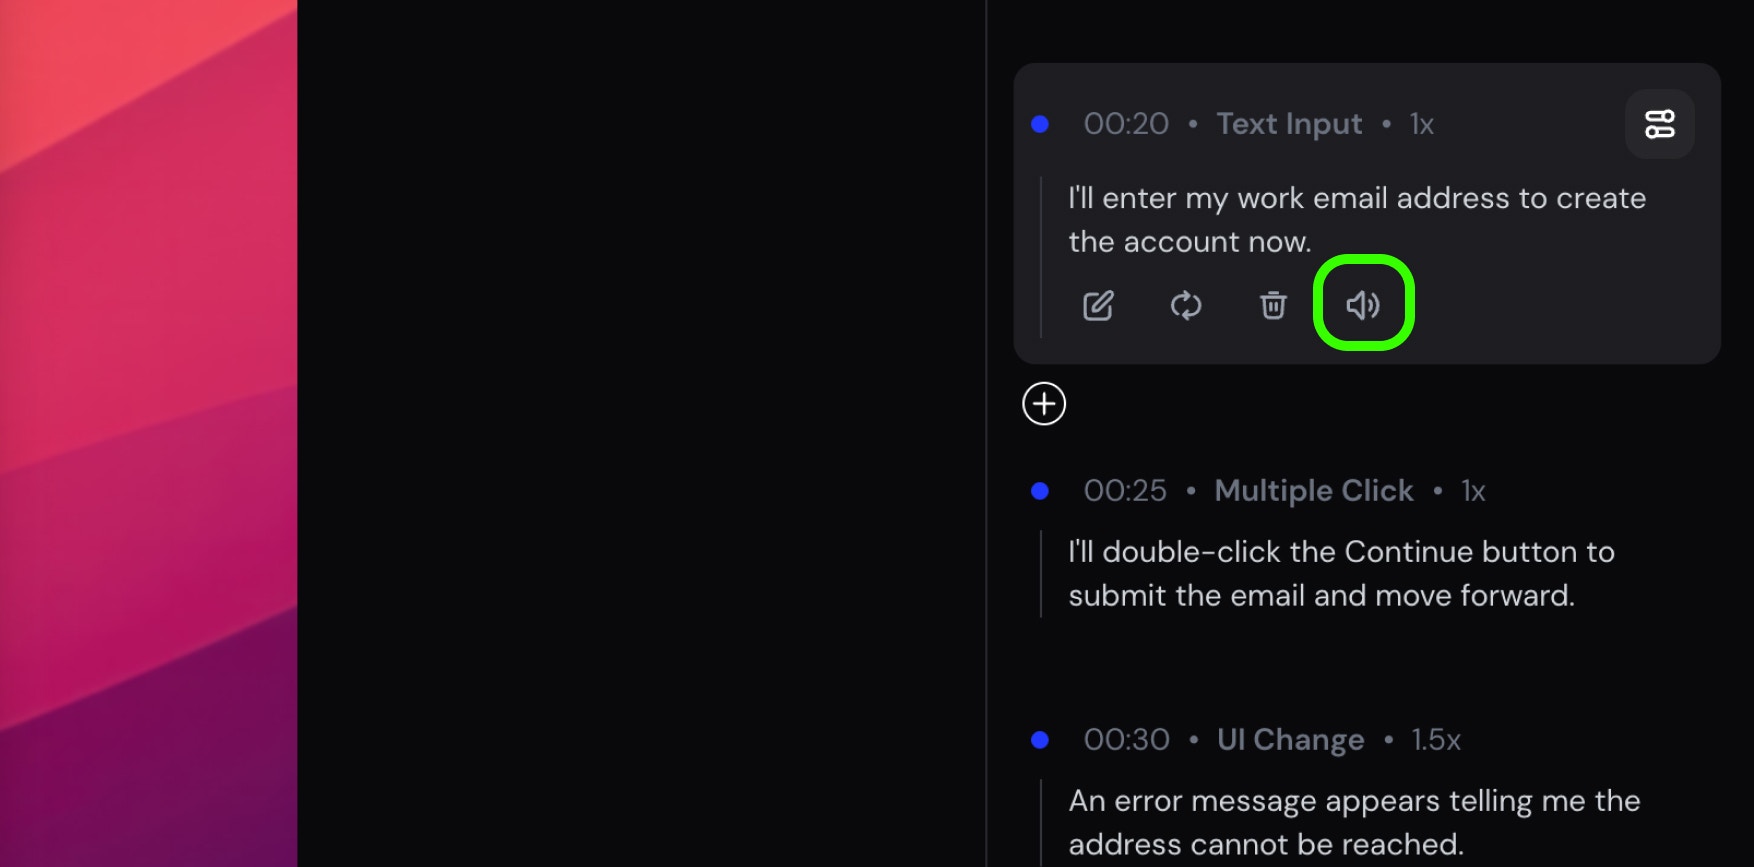
Revise the entire voiceovers
Use Improve Voiceovers to revise all voiceover lines at once with AI. Enter a prompt describing how you want the narration to change, such as tone or clarity, and Clevera rewrites the entire voiceover while keeping the timing and structure aligned with the video.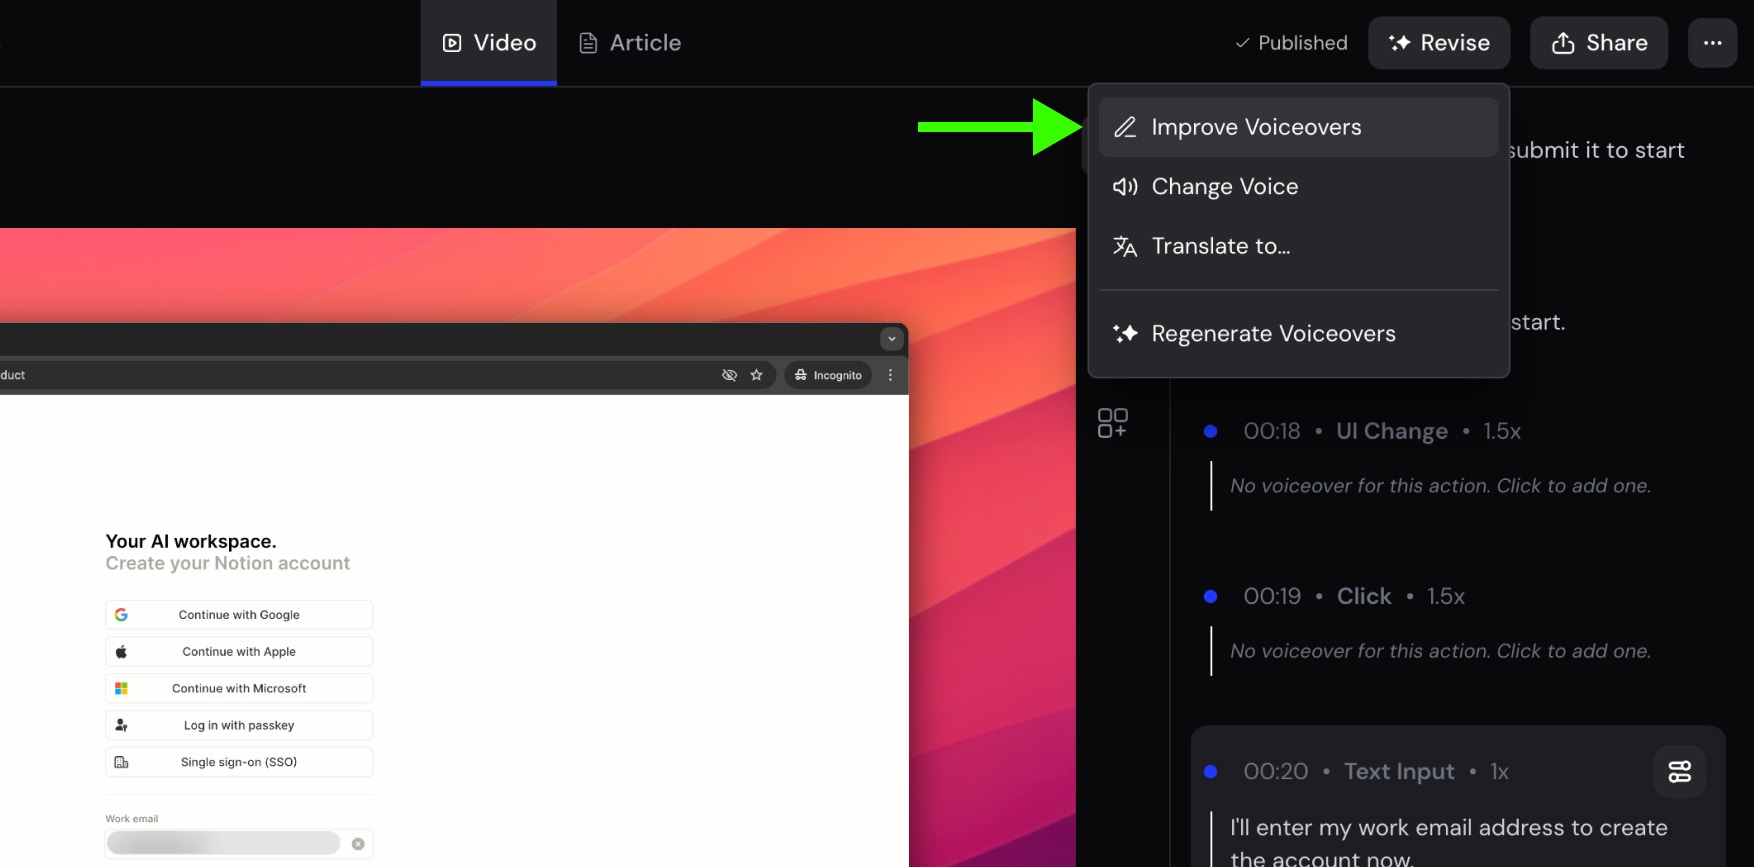
Sharing & exporting
Once you’re happy with your video, you can share it with public. Clevera supports multiple methods to share your video.- View-only link: Share a URL with customers or teammates.
- Embed: Place the video on docs, help centers, your website, Notion, Jira or anywhere that supports HTML/iframe.
- **Publish directly to your tools: **Connect Clevera with your favorite tool and publish it directly on that platform.
- **MP4: **Exporting to MP4 lets you download a final video file that can be shared anywhere, uploaded to other platforms, or stored offline, independent of the live embedded version.

Need more help? Contact our support.